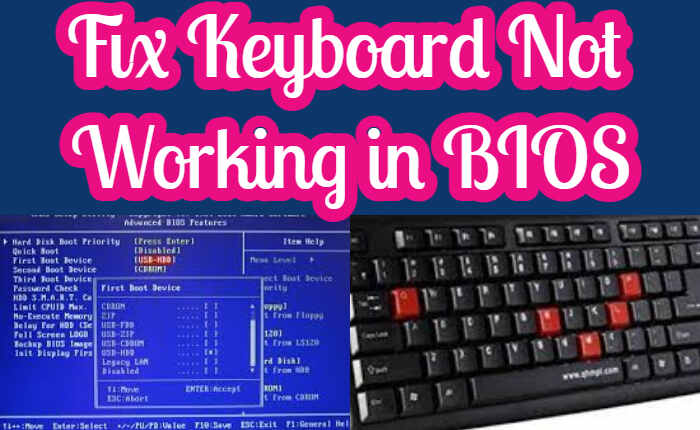
Is your keyboard not working in BIOS? If your answer is YES then look no further as we have got you covered.
Before I teach you the easiest way to resolve the Keyboard not working in BIOS problem, let me tell you that you are not the only user who is encountering this issue at the moment.
With that in mind, we have created a guide explaining a bunch of ways that can be used to resolve the keyboard not working in BIOS. To know what those methods are and how they actually work, you need to keep on reading.
Without any further ado, let’s get started:
What Causes Keyboard Not Working In BIOS?
Keyboard Not Working in BIOS error usually occurs when some BIOS will disable the USB connections for speeding boot. The other reasons could be keyboard is not enabled, keyboard drivers are not recognized, USB ports are not initialized, some keyboard drivers are not supported on BIOS, or the USB port is faulty.

How To Fix Keyboard Not Working In BIOS Error:
Here are all possible ways that you can use to fix this problem now:
Restart Computer
- The best and most simple solution is to restart the computer.
- Tap on the Windows icon on the desktop.
- Click on the Power icon.
- Tap on the Restart option.
Modify Keyboard Settings
- Open Control Panel.
- Search for Keyboard.
- Click on it.
- Click on the link in the prompted window.
- Follow on-screen instruction
- Complete the process.
Reinstall Keyboard Driver
- Right-click on the Windows icon
- Tap on Device Manager.
- Double-click Keyboards to expand.
- Right-click on your keyboard driver.
- Tap on Uninstall device.
- Click on Uninstall to confirm.
- Reboot your computer.
- Check if the issue is resolved.
- If not, then pay a visit to the laptop manufacturer’s support page.
- Install the latest drivers for the keyboard from there.

Check if the keyboard is enabled with the below-given steps:
Enable USB Support
- Restart your computer.
- Hold the BIOS key as the loading screen enters the BIOS setup.
- After entering the BIOS setup
- Go to the Advanced tab.
- Enable the USB Support option.
- Click on the Save changes after clicking Exit.
Disable USB 3.0 on Boot
- Enter the BIOS setup on your PC
- Go to the Advanced tab.
- Tap on USB Single Port Control.
- Search for USB 3.0
- Click on the Disabled option from the menu
- Save changes and exit.
Disable Fast Boot
- Enter BIOS first.
- Go to the Fast Boot tab.
- Select Disabled from the menu.
- Save the changes and switch off the PC.
- Then enter the BIOS again.
Clear CMOS
When you clear CMOS, the BIOS will be restored to its default settings
- Turn your computer off
- Remove the cord from the power source.
- Remove the side panel from the computer’s chassis.
- Navigate the motherboard.
- Locate the CMOS battery on the motherboard.
- Remove the CMOS battery from the motherboard. Wait for some time.
- Reconnect the battery.
- Put the computer cover back on.
- Plug the computer back.
- Turn on the computer
- See if the issue has been resolved. on and check to see if everything works or not.
(A word of caution while removing the battery. It could be in a battery holder, or connected to an onboard header with a wire.
If the battery is in a holder, note the orientation of the + and – on the battery and gently remove it. If the battery is connected to the header with a wire then disconnect it. All this should be done gently without touching anything else on the motherboard.)
We do hope the error has been resolved with any one of the above-given solutions. Do share with us which one worked for you in the comment section.

